For years, removing a background meant opening a heavyweight editor, grabbing a lasso or pen tool, and hoping the edges came out clean. That’s no longer the only option — and for anyone editing more than a handful of images a week, it’s not even the fastest one anymore.
Why Photoshop Isn’t the Only Option Anymore
Modern AI cutout models can isolate a subject in seconds, directly in the browser, with no software to install and no per-image licensing to think about. For product photos in particular — where the goal is a clean, consistent cutout rather than fine art retouching — that’s usually all you need.
What to Look for in a Background Remover
Speed and Automation
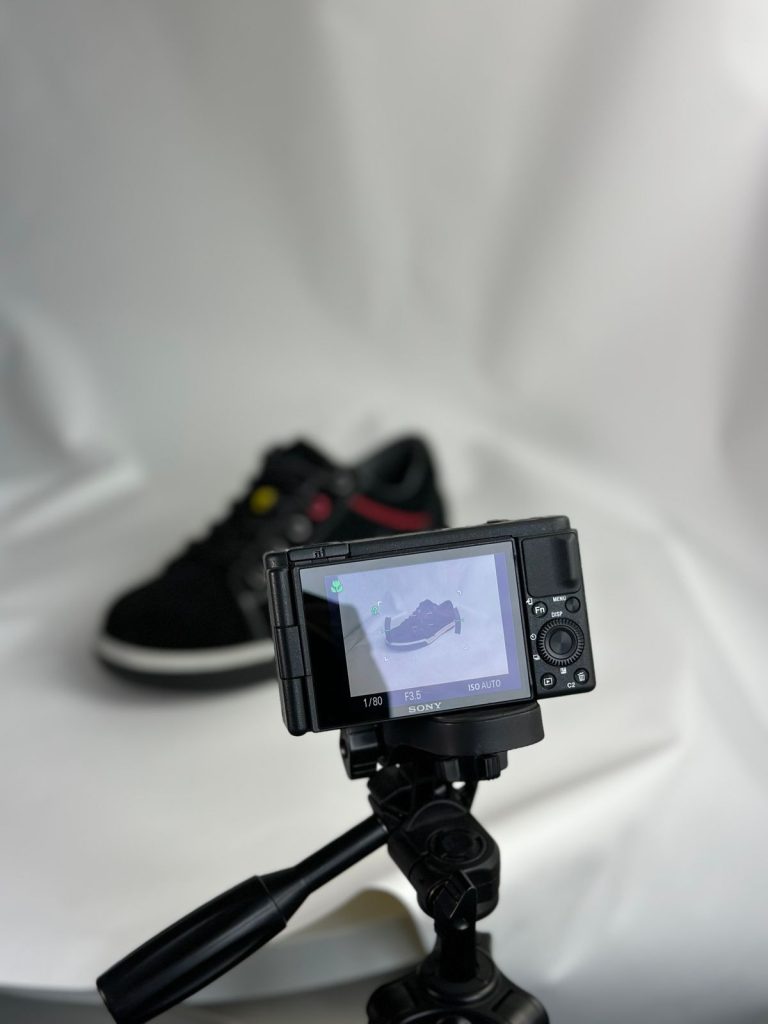
A good tool detects the subject automatically instead of asking you to trace it. That alone turns a five-minute task into a five-second one.
Batch Processing for Large Catalogs
If you only ever edit one photo at a time, this won’t matter. If you’re prepping a catalog, it’s the single biggest factor in how long the job takes — look for a tool that can process and export a whole folder in one pass rather than one image at a time.
Export Format Flexibility
PNG for transparency, JPG for marketplaces that don’t accept it — you want the option to pick per project, not a tool that locks you into one format.
Step-by-Step: Removing a Background in Your Browser
1. Upload Your Image (or Images)
Drop one file in to test the workflow, or a whole folder if you’re ready to go straight to a full batch.
2. Let AI Detect the Subject
The background is isolated and removed automatically — no manual selection needed.
3. Fine-Tune Edge Cleanup
Adjust edge cleanup strength if there’s fringing around hair, glass, or fine detail.
4. Choose Your Background
Swap in a solid color to match your brand, or keep it transparent for maximum flexibility downstream.
5. Export — One Image or the Whole Batch
Download a single file, or export everything as a ZIP if you’re working through a full catalog.
Handling Large Catalogs: Why Bulk Matters
This is where the workflow really pays off. Editing 200 product photos one at a time, even at thirty seconds each, is well over an hour and a half of repetitive clicking. Apply one template to the whole batch instead, and the same job — upload, auto-remove, center, pad, export — finishes in one pass. Pixeroom handles exactly this: set your padding and canvas size once, save it as a template, and run it across as many images as your plan allows in a single ZIP export.
Common Mistakes to Avoid
Watch for inconsistent padding between images, mismatched canvas sizes across a catalog, and exporting in a format a marketplace doesn’t accept — all three are easy to avoid once you’re working from a saved template instead of eyeballing each photo individually.
Try It Yourself
You can test the full workflow without creating anything first — open the Studio and upload a photo to see the cutout happen in real time.