
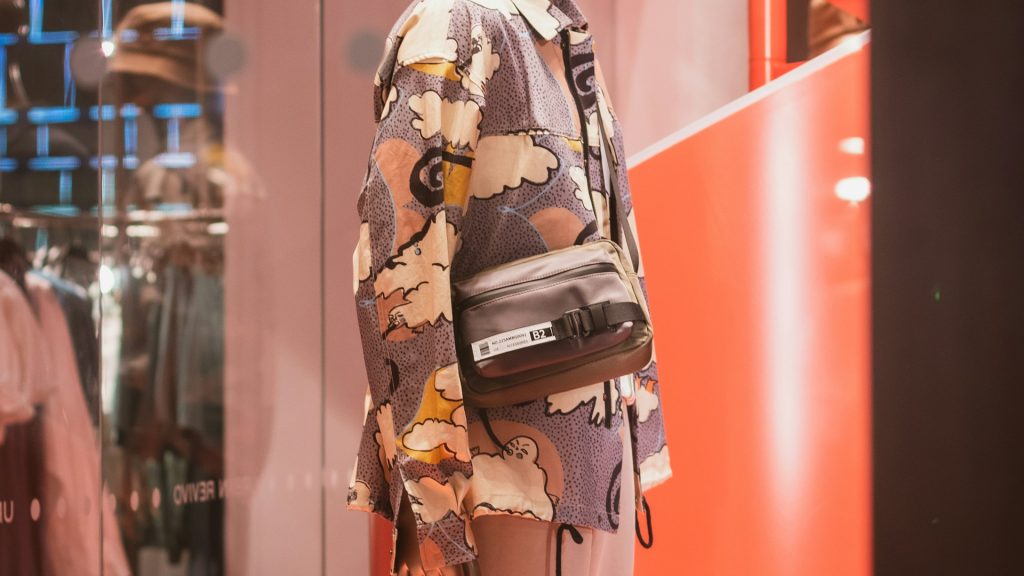
Ghost mannequin photography sounds like a special-effects term, but it’s one of the most common techniques in apparel e-commerce, and there’s a good chance you’ve seen hundreds of examples without ever knowing the name for it. It’s the reason a sweater on a clothing site appears to hold its natural three-dimensional shape — collar standing up, sleeves filled out, the whole garment looking like an invisible person is wearing it — without an actual model or visible mannequin anywhere in the frame. It converts noticeably better than a flat lay or a hanger shot, and it’s also one of the more technically demanding bulk editing tasks in the entire apparel category.
What Ghost Mannequin Photography Actually Is
The technique starts with photographing a garment on a real mannequin, so it holds its natural shape the way it would on a body. Then, in editing, the mannequin itself gets removed entirely — not just the background behind the garment, but the physical form inside it — leaving the garment appearing to float with its natural dimension intact. Because a mannequin’s neck or shoulder area is often still visible through a garment’s collar or armholes even after the mannequin is otherwise removed, a second interior shot is often taken separately and composited in, showing the inside of the collar or the true shape of the neckline without any mannequin visible at all. The result is a garment that looks worn, without anyone actually wearing it.
Why It Converts Better Than Flat Lay or Hanger Shots
A flat lay shot — the garment laid on a surface — or a hanger shot both fail to communicate how a piece actually looks in three dimensions, which is exactly the information a shopper needs to decide whether they’ll like how it fits and drapes. Ghost mannequin photography solves this without the cost and complexity of a full photoshoot with a live model, and without a mannequin visibly cluttering the shot the way an on-mannequin photo does. It occupies a genuinely useful middle ground: more informative than a flat lay, more efficient and consistent than a model shoot, which is exactly why it’s become a standard technique across a huge share of apparel e-commerce rather than a niche specialty approach.
The Technical Challenge: Removing an Object Through a Garment, Not Just Around It
Most background removal, the kind used for a bottle or a shoe, involves identifying the edge between a product and whatever’s behind it — a task that’s hard enough on its own for complex shapes, as any furniture or jewelry seller already knows. Ghost mannequin editing asks for something genuinely harder: removing an object that’s inside the product, visible through openings like the neckline, sleeve cuffs, and hem, while preserving the garment’s exact shape and the natural shadow and fold detail that made the mannequin worth using in the first place. This isn’t simply cutting around an outline — it’s identifying and removing specific visible fragments of the mannequin peeking through gaps in the fabric, which is a meaningfully different and more delicate task than standard background removal.
The Traditional (Slow, Expensive) Way This Gets Done
Historically, ghost mannequin editing has been one of the more labor-intensive tasks in apparel photography, often handled by specialized retouchers charging a premium per image specifically because of how much manual precision it requires. For a small catalog, this cost is manageable. For a growing apparel brand adding dozens of new styles a season, each potentially needing this treatment, the cost and turnaround time compound quickly — and it’s exactly the kind of bottleneck that causes sellers to either skip the technique entirely for lower-priority items or accept a slow, expensive drip of finished images rather than a full new collection launching all at once.
A Bulk Approach to Ghost Mannequin Editing
Modern automated tools have gotten considerably better at handling the core ghost mannequin task — removing the mannequin form from within a garment’s silhouette — as part of a genuinely batch-friendly process rather than a fully manual, per-image retouching job. A bulk photo editor built to handle this can process an entire new collection’s worth of on-mannequin shots together, applying consistent mannequin removal and background treatment across the whole set, rather than requiring the same manual precision work repeated separately for every single garment. Batch edit pictures from a new collection shoot, and what used to be a slow, expensive per-image retouching queue becomes a single organized batch job.
This matters most for apparel sellers with real catalog velocity — new styles and colorways launching every season, sometimes every month — where the traditional manual retouching cost structure simply doesn’t scale the way the rest of the business needs it to.
Where Automated Tools Still Need a Careful Eye
It’s worth being honest that ghost mannequin editing remains one of the harder tasks for any bulk tool to get perfectly right on the first pass, precisely because of how delicate the interior-edge detection has to be. Garments with complex necklines, sheer or textured fabric, or unusual silhouettes are the cases most likely to need a manual spot-check even after an automated batch pass, the same way a furniture catalog’s trickiest pieces deserve extra scrutiny before trusting a fully automated process across the board. Building in a quick review step — checking a sample of finished ghost mannequin images against the original shots before publishing the whole batch — catches the cases that need extra attention without requiring that level of scrutiny on every single image.
Building This Into a Repeatable Apparel Photography Workflow
The practical workflow that works best treats ghost mannequin photography the same way any other bulk editing task should be treated: shoot a full collection’s on-mannequin photos and, where needed, the corresponding interior neckline shots, in one coordinated session, then edit multiple photos together as a single batch rather than processing garments individually as they happen to get photographed. Because the mannequin removal task is more technically demanding than typical background removal, it’s worth allowing a bit more review time in the workflow specifically for this step, even while still processing the bulk of the work as one batch rather than hundreds of separate manual edits.
What to Look for in a Tool for Ghost Mannequin Work
Given how demanding this specific task is, it’s worth testing any bulk picture editor against your most challenging garments — something with a complex collar, sheer fabric, or an unusual cut — before trusting it with an entire new collection. A tool that handles a simple crew-neck t-shirt beautifully might still struggle with a garment that has more intricate interior detail, so the test needs to reflect your actual product range’s complexity. It’s also worth confirming a tool can edit multiple images consistently across a batch that mixes both exterior and interior neckline shots, since a full ghost mannequin workflow often requires processing and compositing both types of source photo together.
Combining Ghost Mannequin Shots With Standard Product Photography
Most apparel catalogs mix ghost mannequin treatment for hero pieces with simpler flat lay or standard background-removed shots for lower-priority items, and it’s worth planning for both within the same overall workflow rather than treating them as entirely separate systems. A bulk background remover handling the simpler standard shots and a ghost mannequin process handling the more complex hero images can both run from the same shoot session and the same underlying catalog management, so a seller isn’t juggling two disconnected editing pipelines just because different products warrant different levels of photographic treatment.
Reprocessing an Existing Catalog That Never Got the Ghost Mannequin Treatment
Many established apparel sellers have years of flat lay or hanger-shot photography that was never upgraded to ghost mannequin treatment simply because of the historical cost involved. If the original on-mannequin source photography still exists, it’s often worth revisiting that backlog now that a genuine bulk workflow makes the technique realistic at scale — bulk edit images across the existing archive to bring older listings up to the same standard as new launches, rather than leaving a visible quality gap between a catalog’s oldest and newest photography.
How Pixeroom Supports Ghost Mannequin Workflows
This is exactly the kind of technically demanding task Pixeroom is built to handle at scale. Upload a batch of on-mannequin apparel photography, and its bulk image background remover handles both the exterior background removal and the more delicate interior mannequin-removal work needed for the ghost mannequin effect, applying consistent treatment across an entire collection in one pass. Remove background from images in bulk across a full new season’s launch, and what used to require a slow, expensive queue of specialized manual retouching becomes a single organized batch job, with mass edit photos capability that scales with however fast a growing apparel brand needs to launch new styles.
To be clear about scope: Pixeroom edits and exports the images themselves. It doesn’t shoot the original on-mannequin photography or manage the physical photoshoot process — that groundwork, including having a mannequin and consistent lighting set up correctly, still needs to happen before editing can do its job. What it removes is the traditional cost and turnaround bottleneck that made ghost mannequin photography a premium, hard-to-scale technique for so long, opening it up to apparel sellers who previously couldn’t justify the per-image retouching cost across a full growing catalog.
If your apparel catalog has been using flat lay or hanger shots because ghost mannequin photography always felt too expensive or too slow to scale, it’s worth reconsidering now that a genuine batch approach exists. The technique’s conversion advantage hasn’t changed — what’s changed is how realistic it is to apply it consistently across an entire growing collection rather than reserving it for a handful of hero products.
Weighing the Setup Cost Against the Conversion Benefit
It’s worth being realistic about what this technique actually requires before committing a whole catalog to it: a physical mannequin, consistent lighting for the exterior shot, and in most cases a second interior neckline shot for anything with an opening a mannequin form would otherwise show through. This is more setup than a simple flat lay photo, and for a genuinely low-priority item that rarely gets clicked on, it may not be worth the extra photography step regardless of how efficient the editing side becomes. The decision worth making deliberately is which tier of your catalog earns the extra setup — hero products and anything driving meaningful traffic are the clearest candidates, while long-tail, rarely-viewed items may reasonably stay on simpler photography even after the editing bottleneck is solved.
A Quick Way to Test Whether It’s Worth Adopting
Before committing an entire upcoming collection to the ghost mannequin technique, it’s worth running a small controlled test first: process a handful of best-selling styles both ways — standard flat lay and ghost mannequin — and compare conversion on those specific listings over a few weeks. This gives a direct, catalog-specific answer rather than relying on general industry wisdom about which technique converts better, since the actual lift can vary meaningfully depending on the specific product category, price point, and audience a given store attracts. A test like this costs very little once the bulk editing bottleneck is solved, and it turns “should we invest in this technique” from a guess into a measured decision.
Once the numbers make the case, rolling the technique out further becomes a straightforward extension of a workflow that’s already proven itself, rather than a leap of faith taken on the whole catalog at once.
What used to be an all-or-nothing bet on an expensive technique becomes a gradual, evidence-based rollout, which is a far more comfortable way for most apparel businesses to make this kind of investment.
That gradual approach, tested first and expanded once it’s proven, tends to build far more internal confidence in a new photography standard than mandating it catalog-wide on day one ever does.
Given how visible the difference is to shoppers, it’s one of the few photography upgrades worth testing early rather than putting off indefinitely.
Even a single test collection is enough to see whether it’s worth building into the standard workflow going forward.